Animations Part 1 – Sprite-sheets

Our engine supports 3 types of animations: animations from code, sprite-sheet animations and skeletal animations. The idea of the first system is to allows programmers to define simple animations like changing a value over time.
Sprite-sheet animations are simple animations that show a different image every so many milliseconds. This type of animations allows artists to paint each frame of the animation to create super complex animations. But it also takes much more time to create smooth animations because an artists has to create a lot of different images to make the animation look smooth. This is where the third system comes in.
Skeletal animations are probably the most complex animations. With this system an artists creates a skeleton consisting of bones, attaches sprites to each bone and then animates the bones. Then the artist creates snapshots for the skeleton at certain moments in time and the system interpolates between these snapshots. Because of this interpolation the animation looks perfectly smooth.
In this 3 part blog I will elaborate on each of the systems. I will describe how they work and I will show you how we have supported our artists with the tools they require. I will start with the simplest system namely sprite-sheet animations, then I will continue with animations from code and last but not least I will describe skeletal animations.
 Lets start by defining what a sprite is. In Computer Graphics, a sprite is a two dimensional image that is part of a larger whole. Sprites are used a lot, for instance for characters and items in the world. The entire game world probably exists of sprites.
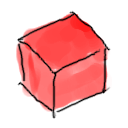
Lets take a simple example. Take this red box on the right. This is a simple object that is placed somewhere in the game world. Now lets say we want to animate the red box and use it in our engine. The animation we want is to turn this red box into a blue box as if paint is dripping on it. This is a typical example were sprite-sheets work great. A sprite-sheet contains multiple sprites that are all displayed in a specific order at a specific time. The sprite-sheet to turn the red box into a blue box is shown below.
We mostly use GIMP for drawing and with it creating an animation like this is very easy. The script found here simply creates the sprite-sheet for you from the different layers in your file. All that is required is that you paint all the different frames seperatly and put them in to seperate layers.
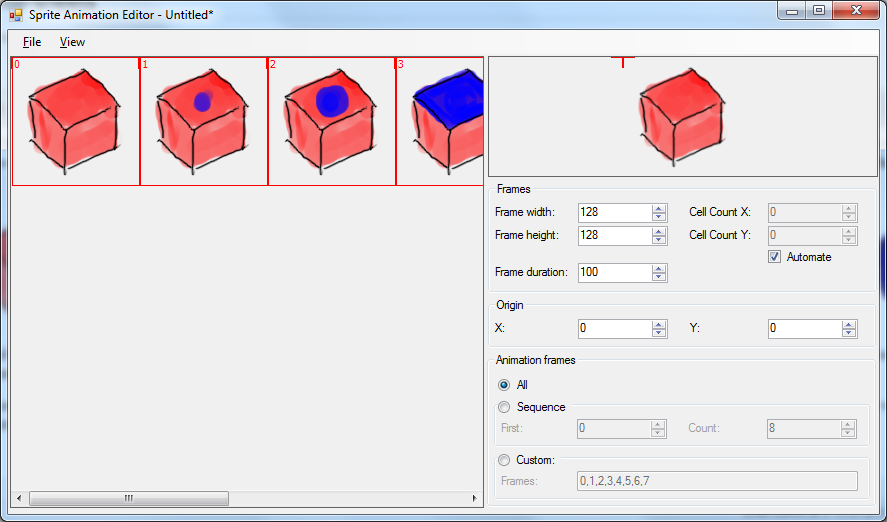
The next step in creating an animation with sprite-sheets is to get the animation in game. However, before we can load the animation in the engine we have to specify when to show which frames of the sprite-sheet. We created a simple tool to do this. With this tool an artist can set a sequence of frames and the time a single frame is shown. It also shows a nice preview of the animation.
The tool creates an .anim file which our engine can load. With this file we can place the box anywhere we want in our game and we can animate it whenever we want. That’s really all there is to it. And here is the result.
![]() The advantages of using sprite-sheets for animation is that you have a lot of freedom because you can really paint whatever you want. The disadvantages are that they take a lot of time to create, they take up much more memory compared to the other animation techniques I will describe and you often require a lot of frames to get a smooth animation. We did use them a LOT in lamapalooza, though.
The advantages of using sprite-sheets for animation is that you have a lot of freedom because you can really paint whatever you want. The disadvantages are that they take a lot of time to create, they take up much more memory compared to the other animation techniques I will describe and you often require a lot of frames to get a smooth animation. We did use them a LOT in lamapalooza, though.
Next time I will talk about animation from code which will be (a lot) more technical. I personally LOVE that system because of its flexibility and ease of use. Hell even sprite-sheet animations use that system.
See you next time!


blog comments powered by Disqus